Transform Front Yards Into Thriving Pollinator Pathways
If you have ever looked at your front yard and felt that it could do more than just sit there looking tidy, you are right. Lawns might be neat, but they do little to help the environment or the wildlife that depends on it. Many homeowners avoid turning their front yards into pollinator friendly spaces because they picture messy gardens and constant maintenance. Creating a pollinator pathway is achievable and one of the most rewarding outdoor projects.
Why Pollinators Need Your Help
Bees, butterflies, hummingbirds, and other pollinators are essential for healthy ecosystems. Sprawling lawns, chemical fertilizers, and monoculture landscaping have stripped away much of their natural habitat. Real change starts at home. A single yard filled with flowering plants can become a vital stop for pollinators searching for food and shelter.
Taking an Honest Look at the Project
Before you start digging, be realistic about the commitment. A front yard transformation is not a quick weekend project. Expect a few weeks of planning, soil preparation, and planting. Maintenance will shift from mowing and fertilizing to light pruning and seasonal cleanup. This trade off pays back in beauty and ecological value.
Native plants often spend their first season developing strong root systems before producing much visible growth. The payoff comes in the following seasons when your garden fills out with color, movement, and life.
Before You Begin: Tools, Materials, and Preparation
Tools:
- Spade or flat shovel for removing turf
- Garden rake for leveling soil
- Hand trowel for planting
- Wheelbarrow for moving soil and compost
- Hose with a gentle spray nozzle or drip irrigation setup
- Mulching fork or garden gloves
Materials:
- Compost or organic soil amendment
- Mulch such as shredded bark, leaf mold, or straw
- Native flowering plants and grasses
- Optional edging material such as stone or metal
Skill Level: Beginner to intermediate, depending on design complexity.
Time Commitment: Several weekends for preparation and planting, with ongoing light maintenance.
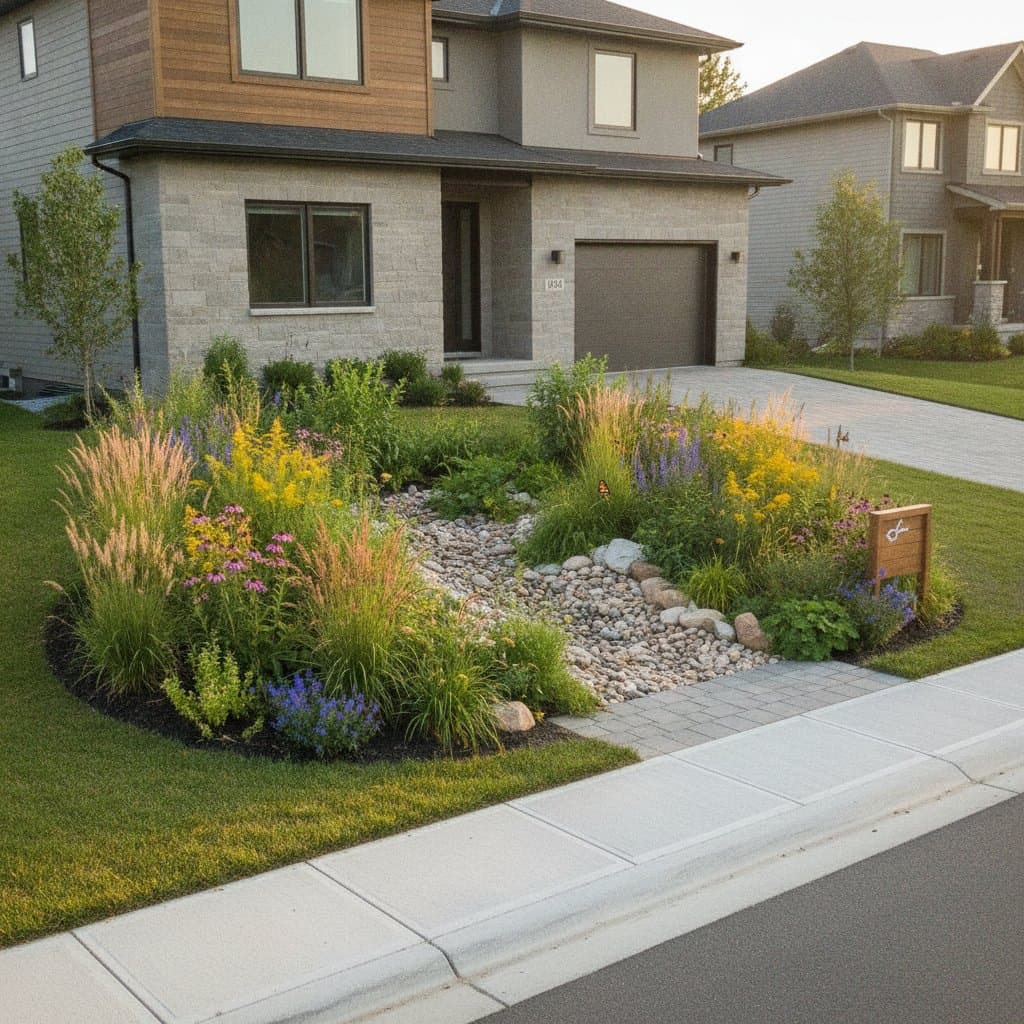
Before planting, check local regulations or homeowners association guidelines. Some communities limit tall grasses or wildflower mixes. You can still create a pollinator friendly design that looks organized by arranging plants in defined beds or borders.
Step 1: Remove or Reduce the Lawn
Most front yards are dominated by grass that requires regular mowing and constant watering. Start by deciding how much of the lawn you want to keep. You can remove turf using one of these methods:
- Manual removal: Cut the grass into sections with a spade and peel it back like sod. This method gives instant results.
- Smothering: Cover the grass with cardboard or thick layers of newspaper, then top it with compost and mulch. Within several months, the grass will die and decompose.
- Solarization: For sunny spots, cover the area with clear plastic to heat and kill the grass below.
Whichever method you choose, avoid chemical herbicides. They can linger in the soil and harm the pollinators you are trying to support.
Step 2: Improve the Soil
Healthy soil is the foundation of a thriving pollinator garden. After removing the lawn, loosen compacted soil with a shovel or garden fork. Mix in compost to improve drainage and fertility. Native plants are hardy, but they still appreciate soil that allows roots to breathe and access nutrients.
If your yard has heavy clay or sandy soil, match your plant choices to your soil type instead of trying to change it completely.
Step 3: Choose the Right Plants
The biggest mistake homeowners make is picking plants for looks alone. Pollinators care about nectar, pollen, and shelter. Choose plants that bloom at different times of the year to provide a continuous food source.
Recommended Plant Categories:
- Early bloomers: Crocus, wild columbine, and penstemon
- Midseason bloomers: Coneflower, bee balm, and black eyed Susan
- Late bloomers: Goldenrod, aster, and native sunflowers
- Grasses for structure: Little bluestem, prairie dropseed, and switchgrass
Always choose plants native to your region. They are adapted to local weather and soil conditions, and native pollinators recognize them as food sources. Check with local extension offices or native plant societies if you are unsure what is native.
Step 4: Design for Beauty and Function
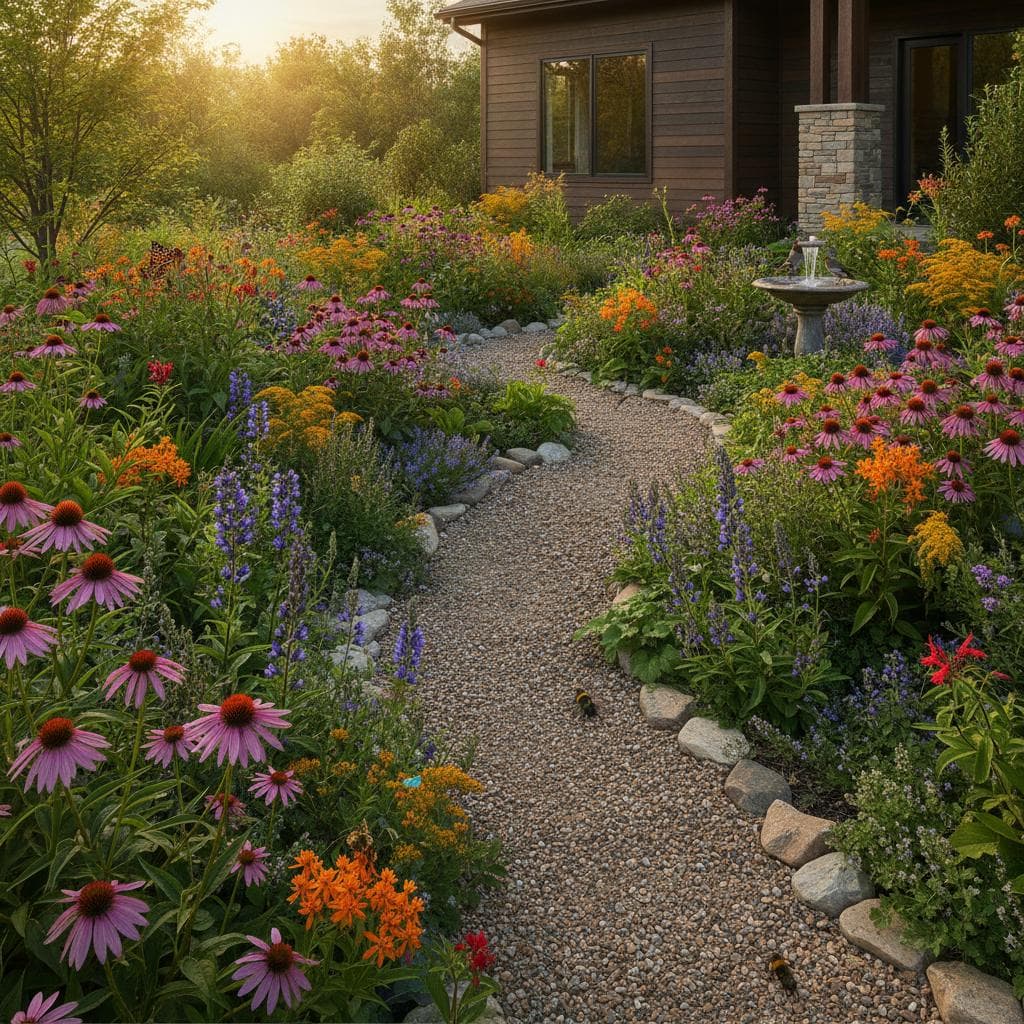
A pollinator friendly yard can look tidy and intentional with planning. Use curved planting beds instead of random patches. Add pathways of gravel, mulch, or flagstone so you can access plants easily. This also helps define the space.
Group plants in clusters of three or more. Pollinators are more likely to find and feed on flowers that are grouped together. Taller plants can go near fences or the back of the garden, while shorter ones line the edges.
Include small shrubs or ornamental features like birdbaths or boulders for year round interest and resting spots.
Step 5: Water Wisely and Mulch Smartly
Newly planted gardens need consistent moisture until roots establish. Water deeply once or twice a week rather than shallow daily watering. Once the plants mature, they will tolerate dry spells better than turf grass.
Apply a two to three inch layer of mulch to retain moisture and suppress weeds. Keep mulch a few inches away from plant stems to prevent rot. Over time, mulch will break down and enrich the soil naturally.
Step 6: Avoid Chemicals
Pesticides, herbicides, and synthetic fertilizers can undo your hard work. Even organic pesticides can harm beneficial insects if misused. Instead, rely on natural methods:
- Introduce ladybugs or lacewings to control aphids
- Encourage birds and beneficial wasps
- Hand pull weeds before they seed
- Use compost instead of synthetic fertilizer
A balanced garden will eventually regulate itself. A few chewed leaves signal life, not neglect.
Step 7: Add Shelter and Water Sources
Pollinators need more than flowers. Create shelter by leaving some leaf litter, hollow stems, or small piles of twigs. Install bee houses or nest boxes, but research which species they support. Some bees prefer burrowing in the ground.
For water, shallow dishes filled with pebbles work well. Pollinators can land safely and drink without drowning. Change the water regularly to prevent mosquitoes.
Troubleshooting Common Problems
Sparse blooms may result from too much shade or poor soil fertility. Trim nearby trees or add compost to encourage growth.
Weed invasion calls for more mulch or dense ground covers to crowd out weeds.
Plants dying off may indicate drainage issues or overwatering. Some natives dislike constantly wet soil.
Neighbors complaining can be addressed by defining borders clearly and keeping edges trimmed. A neat edge makes even a wild garden look cared for.
Any new garden takes time to balance itself. Resist the urge to overmanage.
When to Call a Professional
If your yard has drainage problems, compacted soil, or large tree roots, consider hiring a landscape professional experienced with ecological design. Professional help with irrigation systems or grading will save time and prevent costly mistakes.
Pro Tips for Success
- Take photos each season to track growth and adjust plant spacing.
- Leave seed heads through winter to feed birds.
- Add a few log pieces or rocks to create microhabitats.
- Avoid overmulching, which can smother ground nesting bees.
- Share seeds or cuttings with neighbors to expand the pollinator network.
Maintaining Your Investment
Once established, a pollinator pathway requires far less work than a traditional lawn. In spring, rake away leftover leaves and trim dead stems. In summer, enjoy the activity of bees and butterflies while watching for invasive weeds. By fall, let spent plants remain for winter shelter and food.
As your garden matures, it becomes more self sustaining. The soil improves naturally, weeds become fewer, and wildlife activity increases. Each year brings new surprises as migrating pollinators find your yard.