Key Points
- Enzyme cleaners dissolve organic grime in grout more effectively than many chemical cleaners.
- These cleaners use natural biological reactions to break down proteins, fats, and carbohydrates that cause discoloration.
- Proper application requires patience, surface preparation, and enough dwell time for enzymes to complete their work.
- Enzyme-based products are safer for tile surfaces and indoor air quality than harsh solvents or acids.
- Consistent maintenance with enzyme cleaners can prevent grime buildup and preserve grout longevity.
Technical Background
Grout is porous. It absorbs moisture and organic residue from soaps, shampoos, oils, and dirt. Over time this material becomes a nutrient source for bacteria and mildew. The discoloration that appears between tiles is not just surface staining. It is a combination of trapped organic matter and microbial growth.
Assessment
Before cleaning evaluate the grout condition. Check for cracks, missing sections, or deteriorated sealant. Damaged grout should be repaired before deep cleaning because enzyme solutions penetrate easily and could reach the substrate below the tile. Identify the type of tile surface as well. Enzyme cleaners are safe for ceramic and porcelain. Natural stone tiles like marble or limestone may require a pH-neutral version to avoid etching.
Determine the source of the grime. If the discoloration appears greasy or dark it likely contains organic residue suitable for enzyme treatment. Mineral deposits or rust stains do not respond to enzyme cleaners and require specialized products.
Planning Phase
Gather the necessary tools and materials before starting. Use an enzyme grout cleaner formulated for bathroom use. Have a soft-bristle brush or grout-specific cleaning brush ready. Prepare a spray bottle or squeeze applicator along with microfiber cloths or clean towels. Keep warm water available for rinsing. Wear protective gloves and eye protection. Consider a grout sealer for post-cleaning protection.
Plan to work in sections of roughly one to two square meters at a time. Enzyme cleaners need contact time to perform their reactions. Avoid applying too much at once. Ensure the bathroom is well ventilated though enzyme cleaners generally have minimal fumes. Protect adjacent surfaces such as painted walls or wood trim from prolonged moisture exposure.
Implementation
Follow these steps for effective enzyme-based grout cleaning.
- Pre-clean the surface. Remove loose debris and surface dust with a dry cloth or vacuum. This prevents dirt from interfering with enzyme contact.
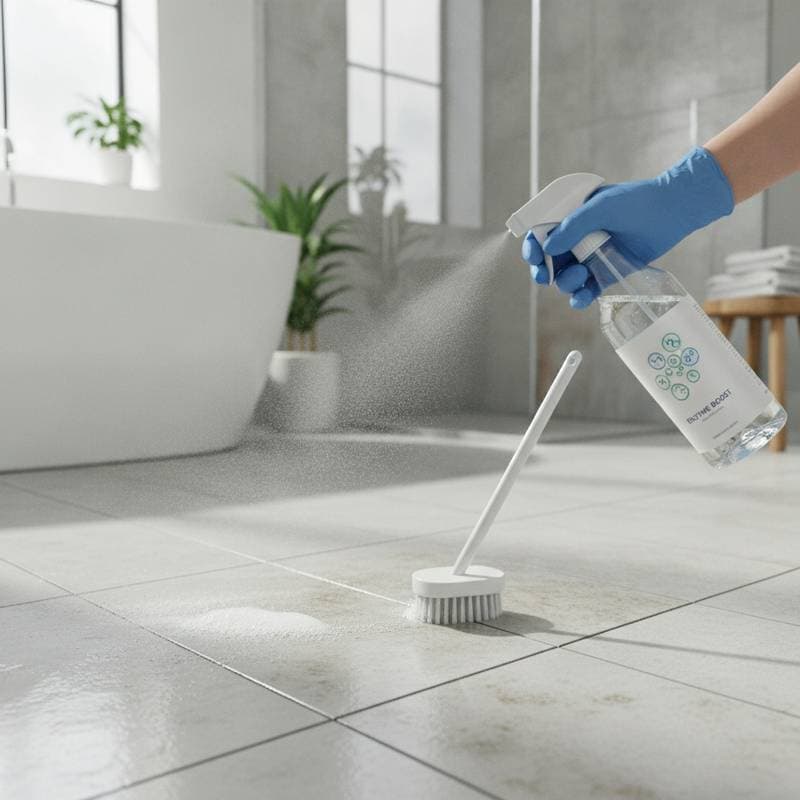
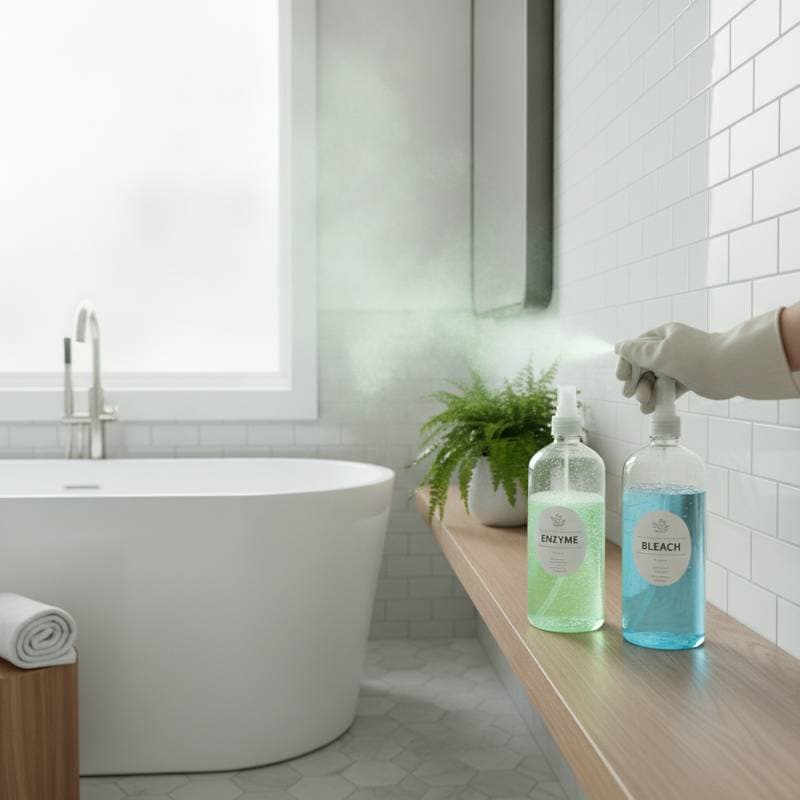
- Apply the enzyme cleaner. Spray or pour the product directly onto the grout lines. Ensure full coverage without flooding the area.
- Allow dwell time. Enzymes need several minutes to break down organic material. Follow the manufacturer recommended duration usually between ten to thirty minutes. Keep the area moist during this time by misting lightly with water if it begins to dry.
- Agitate the grout. Use a soft-bristle brush to scrub in small circular motions. This mechanical action lifts loosened residue and allows deeper penetration.
- Rinse thoroughly. Wipe away the dissolved grime with warm water and a clean towel. Repeat the process if discoloration remains giving the enzymes additional time to work.
- Dry completely. Use a dry cloth to remove excess moisture preventing new microbial growth.
- Seal the grout. Once fully dry apply a penetrating grout sealer to minimize future staining and make subsequent cleanings easier.
Quality Assurance
Examine the grout after cleaning under bright light. Clean grout should appear uniformly colored without dark streaks. If any sections remain discolored they may contain mineral buildup rather than organic residue. In such cases use a mild acid cleaner for those specific spots then rinse and neutralize before resealing.
Track your cleaning results by noting which enzyme product and dwell time produced the best outcome. Over time you will develop a reliable procedure suited to your home humidity level and tile type. Many homeowners find that repeating enzyme cleaning every few weeks prevents buildup entirely and reduces the need for aggressive scrubbing.
Maintenance and Long-Term Benefits
Regular maintenance keeps grout healthy and prevents the return of stubborn grime. After shower use wipe down tiles and grout lines to remove moisture and soap residue. Periodic enzyme cleaning can serve as both a deep cleaner and a preventive measure. Because these products continue working as long as moisture and organic matter are present they offer residual cleaning action that outperforms many standard formulations.
Pro Tips for Success
Always shake enzyme cleaners before use since active ingredients can settle during storage. Apply in warmer conditions if possible as enzymes perform more efficiently at moderate temperatures. Store products in a cool dry location to preserve enzyme activity. For textured tiles or uneven grout lines use a toothbrush-sized brush to reach recessed areas. Combine enzyme cleaning with consistent ventilation and moisture control to sustain results.