Revive Grout with Enzyme Cleaners: Effortless Restoration Without Harsh Scrubbing
Key Benefits at a Glance
- Cost-Effective Solution: Enzyme cleaners eliminate deep-seated grime from grout lines without the need for costly professional services or abrasive chemicals.
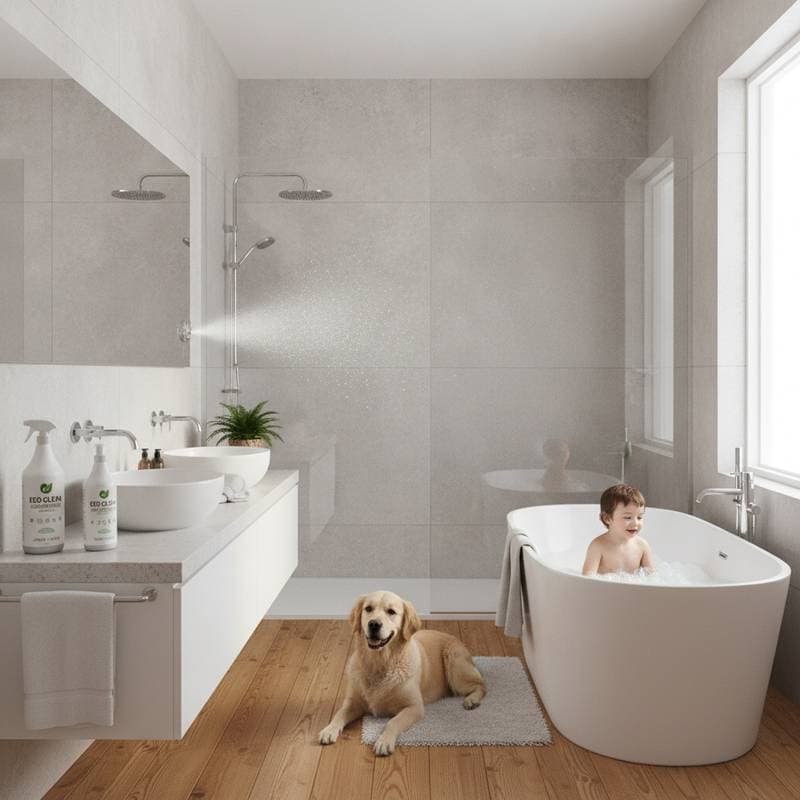
- Family and Pet Safe: These non-toxic, biodegradable formulas pose no risk to children, pets, or delicate natural stone surfaces.
- Minimal Time Investment: Plan for 30 to 45 minutes of active work on a small bathroom floor or shower wall, plus dwell time for optimal activation.
- Accessible for Novices: No advanced tools or expertise required; basic household items suffice.
- Lasting Improvements: Achieves near-original grout color, neutralizes odors, and slows future accumulation with routine use.
How Enzyme Cleaners Work
Enzyme cleaners rely on live cultures of beneficial bacteria that generate targeted enzymes. These enzymes attack organic substances such as proteins, starches, and fats commonly found in grout buildup. Upon application, the enzymes dismantle the grime into digestible components, which the bacteria then consume, effectively removing the dirt at its source.
Project Essentials
Active Time: 30 to 45 minutes
Overall Duration: 1 to 2 hours, accounting for dwell and drying periods
Difficulty: Beginner
Approximate Expense: $15 to $30, based on product brand and area size
Detailed Cleaning Steps
Step 1: Set Up the Workspace
Remove rugs, towels, and any loose items from the surface. Sweep or vacuum away visible debris to ensure even application. For shower areas, run warm water briefly to soften initial residue, then allow the surface to air dry slightly. This preparation helps the cleaner penetrate deeply without diluting or running off.
Step 2: Distribute the Cleaner
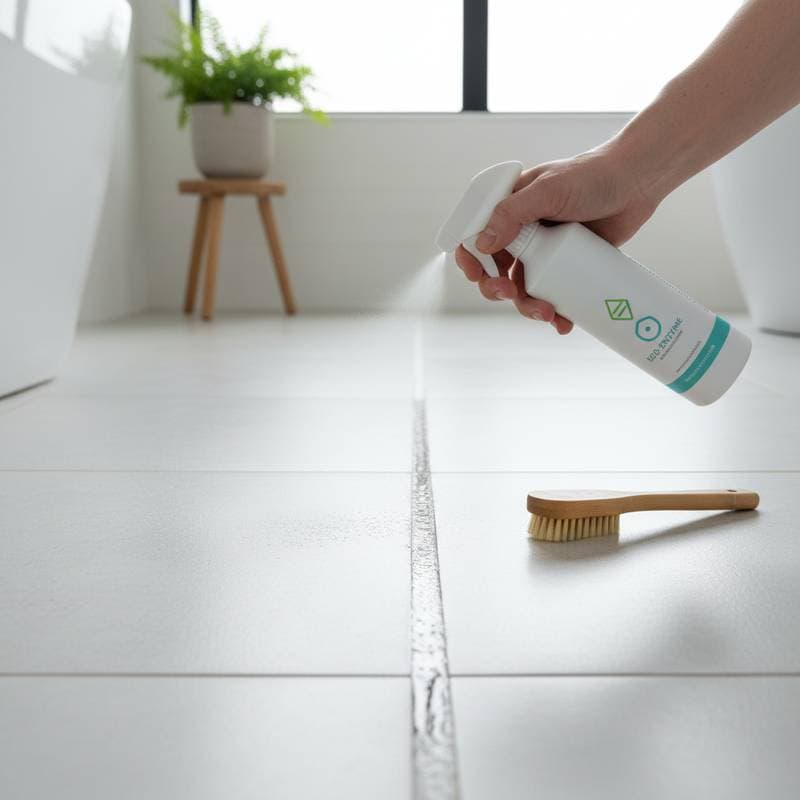
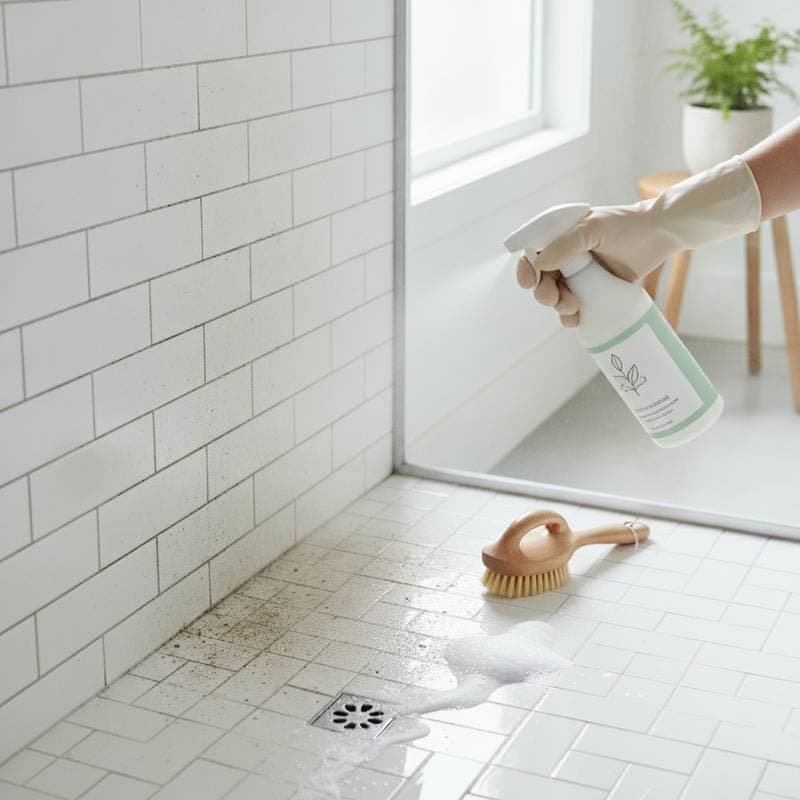
Apply the enzyme solution liberally along the grout lines using a spray bottle. Ensure complete coverage of each line for uniform results. Allow the product to dwell for 10 to 15 minutes, or follow the specific guidelines from the manufacturer. During this interval, the enzymes actively degrade the organic matter.
Step 3: Gentle Agitation
Employ a soft nylon brush or an old toothbrush to lightly work the solution into the grout. Apply minimal pressure to avoid surface wear; the focus remains on aiding penetration into the pores. For particularly stubborn sections, reapply the cleaner and agitate again before proceeding.
Step 4: Rinse and Wipe Down
Flush the area with warm water to remove loosened debris. Use a clean towel or microfiber cloth to dry thoroughly, preventing water spots or mildew growth. After drying, examine the grout; most users observe significant enhancement from a single session.
Step 5: Address Stubborn Areas
Heavily soiled or aged grout may require multiple applications over a few days. The enzymes persist in their work between treatments, progressively revealing the grout's original appearance.
Smart Spending on Supplies
Prices for enzyme cleaners fluctuate with concentration levels and container sizes. Select mid-range options that deliver robust performance without extraneous ingredients. Steer clear of heavily scented varieties, as strong fragrances sometimes indicate diluted cleaning efficacy.
For greater savings, opt for concentrated formulas that allow dilution at home, providing extended use. Complement enzyme treatments with periodic vinegar-water rinses for maintenance; while vinegar handles light dirt, it pairs well with enzymes for comprehensive care.
A durable nylon brush represents a worthwhile investment. Inferior brushes lose bristles quickly and risk scratching tiles, whereas quality ones endure multiple cleanings and ensure consistent results.
Pitfalls to Sidestep
- Rushing the Dwell Phase: Enzymes require time to function; impatience reduces their impact.
- Opting for Hot Water: High temperatures can destroy enzyme activity; use warm or ambient water exclusively.
- Combining with Other Products: Interactions with chemicals may neutralize the bacteria; apply enzymes independently.
- Excessive Force in Scrubbing: Aggressive action clears surface grime swiftly but risks eroding grout integrity.
- Ignoring Ongoing Maintenance: Cleanliness invites neglect; regular upkeep averts rapid re-staining.
Handling Lingering Discoloration
Persistent stains after repeated enzyme applications often stem from mineral deposits rather than organic residue. Hard water minerals adhere firmly to grout. Address these with a mild acid solution like diluted white vinegar, used judiciously followed by a thorough rinse, then resume enzyme routines for prevention.
For enduring mold or mildew, choose enzyme products designed for fungal breakdown. These target growth at the cellular level without resorting to corrosive agents like bleach.
Expert Techniques for Optimal Results
- Tackle one small area at a time to manage dwell periods and rinsing precisely.
- Maintain a ready-to-use spray bottle of diluted enzyme for quick spot treatments.
- Store products in stable, moderate conditions to safeguard bacterial viability; avoid extremes in heat or cold.
- Dry with soft towels or microfiber mops to eliminate lint residue.
- Apply grout sealer annually in moist zones to enhance durability.
Long-Term Grout Preservation
Incorporating enzyme cleaners into a regular schedule sustains grout cleanliness and prolongs its service life. By dissolving organic layers before they solidify, this method averts cracks and the need for full regrouting. Tiles retain their vibrancy, and spaces remain odor-free, rewarding those committed to thoughtful home care.