Why Ultrasonic Cleaners Are Replacing Scrub Brushes
Key Points
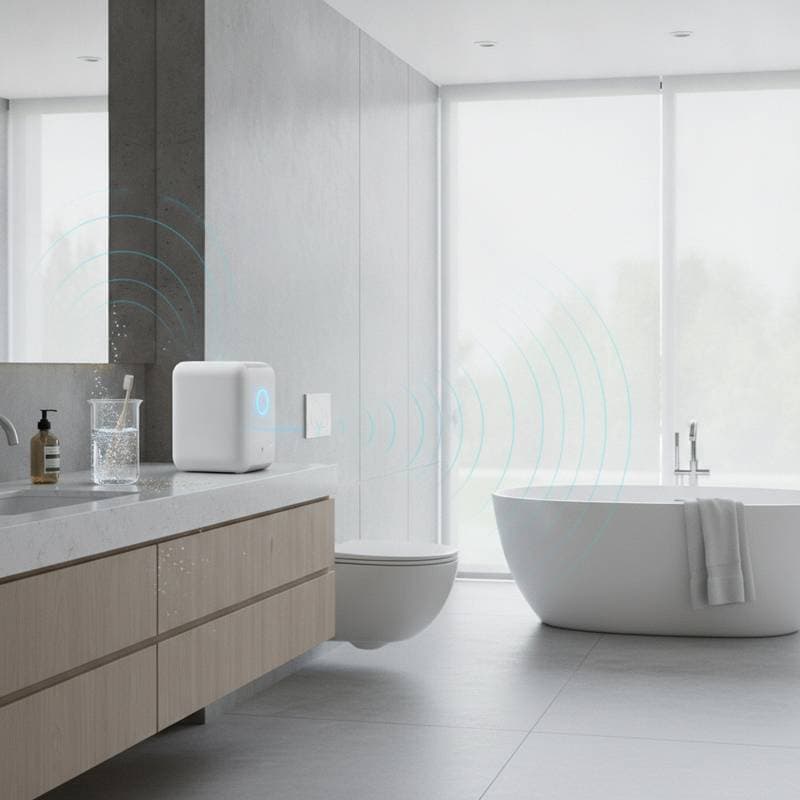
- Ultrasonic cleaners use high-frequency sound waves to remove grime and buildup without manual scrubbing.
- These devices produce professional results on delicate surfaces such as glass, chrome, and jewelry.
- Affordable models now allow homeowners to achieve thorough cleaning in their own bathrooms.
- Correct operation and regular maintenance protect both the machine and the items being cleaned.
- Certain heavy or specialized tasks may still require supplemental manual methods.
Project Overview
Working Time: 15 to 30 minutes per cycle
Total Time: Usually under one hour including soak and dry periods
Skill Level: Beginner
Estimated Cost: $40 for basic units to $200 for models with advanced features
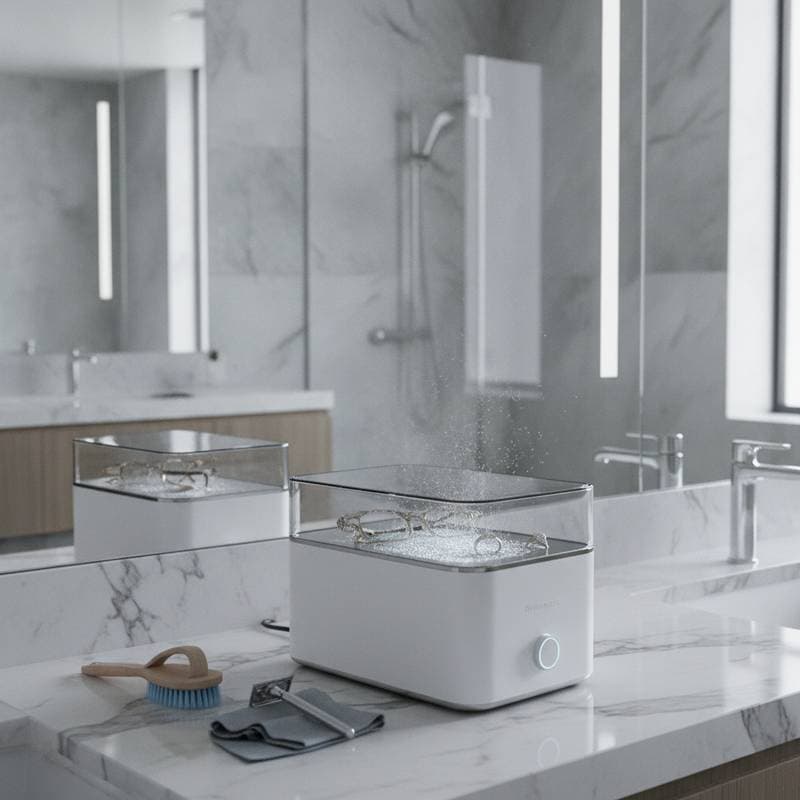
Ultrasonic cleaners operate by filling a tank with water and a measured amount of solution. Items rest in a basket while sound waves create microscopic bubbles that dislodge dirt. Many units include adjustable settings for intensity and temperature, although preset cycles suffice for most household objects.
Materials and Tools
Tools:
- Countertop ultrasonic cleaner
- Measuring cup for filling the tank
- Microfiber cloth for drying
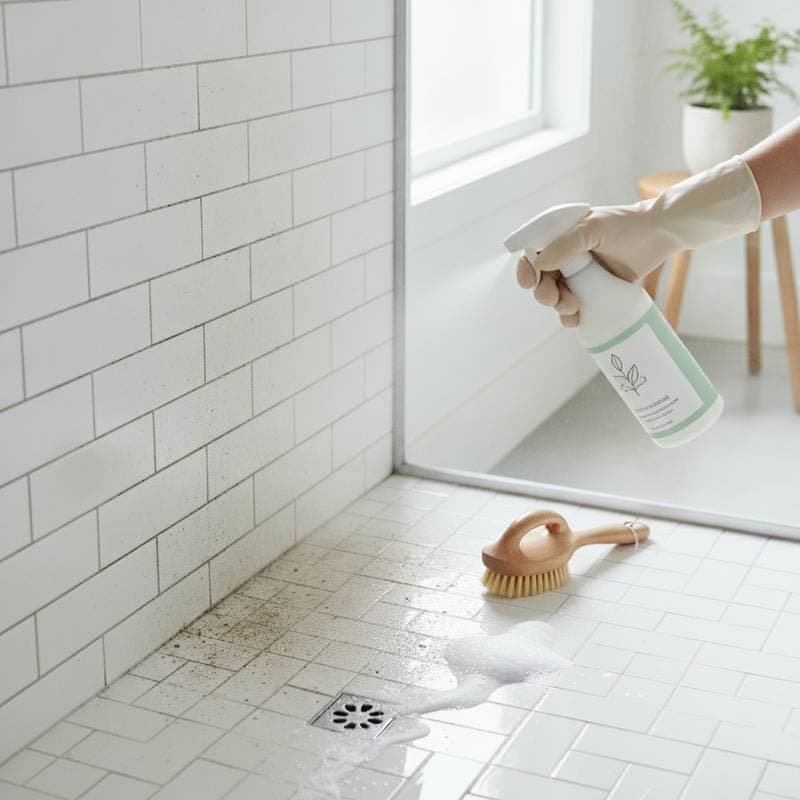
- Soft brush for initial removal of loose debris
Materials:
- Distilled water to limit mineral deposits
- Ultrasonic-specific cleaning solution
- White vinegar for occasional mineral removal
Harsh detergents and ammonia-based products can damage the machine or leave residues. Manufacturer guidelines list approved fluids. Distilled water supports efficient cavitation and reduces spotting on finished surfaces.
Before loading the tank, separate items by material and condition. Remove loose hair, heavy dust, or large particles with a soft brush. This simple preparation prevents the solution from becoming dirty too quickly and helps the cleaner focus on embedded film. Do not place items directly on the tank floor, since the basket allows sound waves and fluid to circulate more evenly.
Quality Control and Technique Tips
Consistent results depend on careful preparation and monitoring. The following practices support effective cleaning:
- Select a fluid formulated for ultrasonic use to enhance bubble formation and avoid residue.
- Maintain water temperature near that of hot tap water. Higher heat can improve performance on grease but must stay within unit limits.
- Test coated or painted items on a small area first, because vibration may lift finishes.
- Limit cycle length on polished brass, copper, or chrome to prevent dulling.
- Dry all metal parts immediately with a towel to prevent corrosion or water spots.
These steps mirror traditional standards of careful workmanship and produce longer-lasting outcomes.
Avoid overcrowding the basket. Objects should have enough space for the solution to move around each surface. If several pieces touch one another, shaded areas may remain dirty, and polished finishes can rub together during handling. A second, shorter cycle is often more effective than one overloaded cycle.
Ultrasonic cleaners are not suitable for every material. Porous stone, loose gemstones, wood, leather, pearls, and items with fragile glued components may suffer damage. Painted hardware and fixtures with decorative coatings require particular caution. When an object has sentimental or significant value, consult the manufacturer or a qualified professional before cleaning it.
Bathroom Design and Renovation Benefits
Cleaning equipment can influence the durability and appearance of a renovated space. Modern bathrooms often combine chrome, glass, ceramic, brushed metal, and engineered surfaces. Each material has different care requirements, and aggressive brushes may create uneven wear that becomes noticeable under bright vanity lighting.
An ultrasonic cleaner supports a more measured maintenance plan. Small removable parts can be cleaned without applying force to surrounding tile, grout, or cabinetry. This is helpful in compact bathrooms, where fixtures may sit close to delicate wall finishes. Keeping aerators and shower components clear also supports proper water flow, while clean hardware helps a recently renovated room retain its polished appearance.
Budget Considerations
Homeowners often find that one ultrasonic unit replaces repeated purchases of specialty cleaners. Mid-size tanks accommodate common bathroom items such as faucet aerators and toothbrush holders.
Cost-saving measures include using distilled water instead of pre-mixed solutions, processing several small objects in a single cycle, and choosing manual controls over digital extras. Units with built-in heating justify the added expense when soap scum or oily residues appear frequently.
When comparing models, consider tank size, basket quality, drainage features, noise level, and the availability of replacement parts. A smaller unit may suit occasional fixture maintenance, while a larger tank can support household cleaning projects without requiring several batches. The most expensive model is not automatically the best choice. Capacity and safe operating controls usually matter more than decorative displays.
Maintenance and Longevity
Empty and wipe the tank after each use. Run a plain-water cycle periodically to flush internal surfaces. Inspect cords and housing for damage before operation. Replace solution when it becomes cloudy, because reused fluid can redeposit particles.
Integrating the Device into a Regular Routine