Project Overview
Working Time: 15 to 30 minutes for small fixtures, up to one hour for large surfaces.
Total Time: Varies depending on soak time and surface area.
Skill Level: Beginner to Intermediate.
Estimated Cost: $80 to $250 for a quality handheld or countertop ultrasonic unit.
When to DIY vs Hire
Using an ultrasonic cleaner at home falls entirely within DIY territory. Units are safe to operate as long as you follow manufacturer instructions and basic precautions. Professional cleaning services may use larger ultrasonic tanks for deep restoration of heavily corroded fixtures. Average homeowners can achieve impressive results without professional help.
Consider professional assistance only if the buildup is associated with plumbing issues, severe corrosion, or contamination that may require specialized handling.
Materials and Tools
Essential Equipment:
- Ultrasonic cleaning wand or countertop unit.
- Mild cleaning solution recommended for ultrasonic use.
- Warm water supply.
- Soft microfiber cloths for drying and polishing.
Optional Add-ons:
- Small brushes for pre-loosening thick deposits.
- Rubber gloves and protective eyewear.
- Towels for catching splashes around sinks or tubs.
Some models come with built-in reservoirs and wands designed for vertical surfaces. Others use small tanks for detachable fixtures. Choose a size and design that matches your typical bathroom cleaning tasks.
Step-by-Step Process
1. Preparation
Begin by removing loose dirt or hair from the surfaces you intend to clean. Ultrasonic cleaners perform best when heavy debris is cleared away first. Fill the tool reservoir or tank with warm water and add the recommended amount of cleaning solution. Avoid using harsh chemicals, bleach, or ammonia-based products, as these can damage the unit and certain finishes.
Plug in the device and verify that it is stable on a flat surface. If you are cleaning fixtures like showerheads or sink handles, detach them if possible for better access.
2. Applying the Ultrasonic Cleaner
For handheld wands, move the tip slowly across the surface while the ultrasonic action vibrates through the water. You will see small ripples or bubbles indicating active cavitation. Keep the wand a short distance from the surface and maintain steady motion.
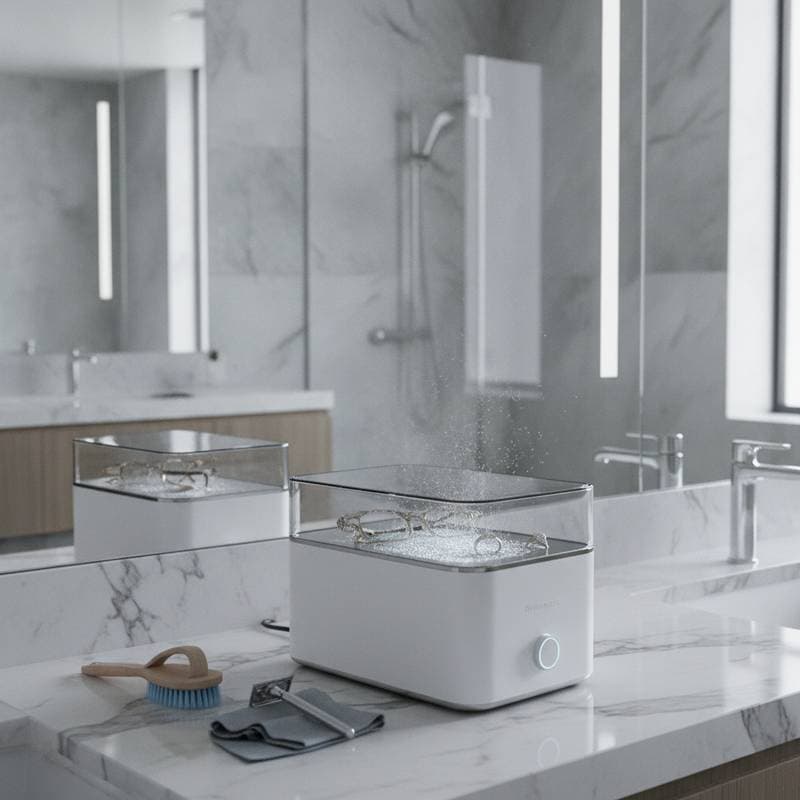
If using a countertop tank, submerge the item completely. Activate the cleaning cycle and let the unit run for the recommended duration, typically between three and ten minutes depending on buildup level. Do not exceed the suggested run time, as prolonged exposure can dull delicate finishes.
3. Rinse and Dry
After cleaning, rinse the surfaces thoroughly with clean water to remove loosened residue and any remaining solution. Wipe dry with a microfiber cloth to prevent water spots. On glass or chrome, a final polish with a dry cloth enhances shine and clarity.
For grout or textured tile, lightly brush with a soft nylon brush after ultrasonic cleaning to remove any loosened particles that remain seated in pores.
4. Quality Check
Inspect the cleaned surfaces under good lighting. Ultrasonic cleaning should leave a uniform, residue-free appearance. Repeat short cycles for stubborn spots rather than extending a single long cycle. Overexposure to ultrasonic action rarely causes major damage. Repeated excessive use on thin metal finishes can lead to micro-pitting over time.
Why Ultrasonic Cleaning Works So Well
Traditional cleaning relies on mechanical friction, which means you must physically scrub dirt away. Ultrasonic cleaning uses energy transfer instead. The collapsing microbubbles generate localized pressure waves that dislodge particles with precision. This allows the tool to reach tight corners and fine details that manual scrubbing cannot access.
In bathrooms, where buildup often occurs under fixtures, around faucets, or in the crevices of tile, this capability is particularly valuable. The process also reduces the need for heavy chemical cleaners that can etch surfaces or produce lingering odors.
Budget Considerations
While ultrasonic cleaners may seem expensive compared to a bottle of cleaner and a brush, the cost evens out over time. Quality models last for years. You will spend less on disposable scrub pads, chemical cleaners, and specialized sprays. Because the process is gentle, it also extends the life of your surfaces and reduces the need for refinishing or replacement.
For tighter budgets, start with a small ultrasonic wand designed for jewelry or small fixtures. These models still deliver noticeable cleaning power for faucets, drain covers, and showerheads. As you see the benefits, upgrading to a larger unit capable of handling full tiles or glass panels becomes an easy decision.
Safety and Maintenance
Always unplug the unit before filling, emptying, or cleaning it. Avoid immersing electrical components in water. Use only solutions approved by the manufacturer. Never operate the cleaner without liquid in the tank or reservoir.
After each use, drain and rinse the tank, then wipe it dry. Periodically check for mineral buildup or residue inside the reservoir. If your water is hard, use distilled water to prevent scale formation.
For handheld wands, inspect the tip for cracks or wear. Replace any damaged parts immediately, as cracks can affect performance and increase the chance of leaks.
Quality Control and Technique Tips
- Use proper temperature. Warm water enhances cavitation efficiency. Avoid boiling water, which can reduce bubble formation.
- Avoid overcrowding. If cleaning multiple items, leave space between them so the sound waves can circulate freely.
- Work in sections. For large surfaces like glass doors, divide the area into manageable zones and move methodically.
- Apply a soft follow-up. After ultrasonic cleaning, a light wipe with a damp cloth removes any loosened film and ensures a uniform finish.
By staying methodical and controlled, you maintain both safety and quality.
When Ultrasonic Tools May Not Be Ideal
Ultrasonic cleaning is versatile but not universal. It may not remove thick lime deposits that have hardened over years of neglect. In those cases, pre-treating with a mild descaling agent before ultrasonic cleaning helps loosen buildup.
Avoid using ultrasonic devices on painted surfaces, natural stone, or materials sensitive to vibration, as the process can cause discoloration or micro-fractures. If uncertain, test a small area first.
Electrical fixtures, light switches, and areas with open wiring should never be exposed to ultrasonic moisture. Keep the process restricted to non-electrical surfaces that can safely handle water.
Environmental and Health Benefits
Most ultrasonic cleaning solutions use mild surfactants or biodegradable agents instead of harsh chemicals. This approach reduces exposure to strong fumes and lowers the environmental load from wastewater disposal. Because the process relies on mechanical energy, it also uses less cleaner per session than traditional scrubbing.
For households with sensitive skin or allergies, this chemical reduction provides a noticeable improvement in indoor air quality during cleaning sessions.
Pro Tips for Success
- Use distilled water when possible to prevent mineral spotting.
- Combine ultrasonic cleaning with regular light maintenance rather than waiting for heavy buildup.
- Keep a soft towel nearby to dry fixtures immediately after cleaning.
- Store the unit in a cool, dry location to prevent internal condensation.
- Replace the cleaning solution periodically to maintain consistent performance.
Each of these habits ensures the system continues to deliver professional-level results without unnecessary wear or contamination.
Extending the Approach
Once you become comfortable using ultrasonic tools in the bathroom, consider applying the same technique to other areas of your home. Kitchen faucets, cabinet hardware, and even workshop tools can benefit from ultrasonic cleaning.
As with woodworking or construction, mastery comes from repetition and observation. Pay attention to how different materials respond to the process, adjust your timing, and refine your technique over time.
Ultrasonic cleaning represents a blend of modern innovation with traditional principles of maintenance. It respects the old idea that proper care and attention lead to lasting results while offering a cleaner, safer, and more efficient way to handle one of the most challenging rooms in the house.