Understanding Self-Healing Grout
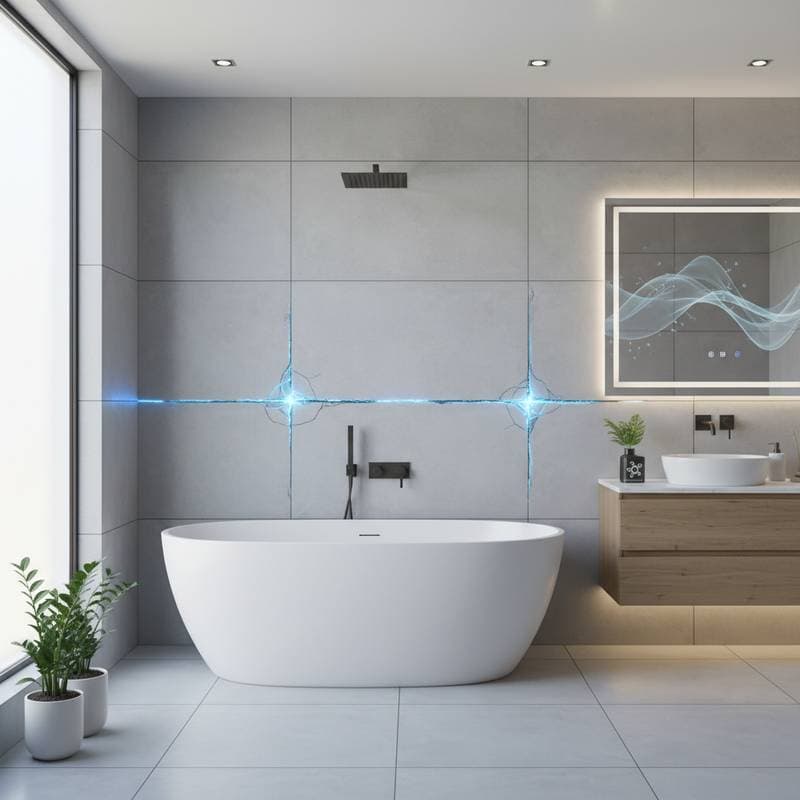
Self-healing grout addresses a common issue in tile installations. Traditional grout develops hairline cracks from temperature shifts, moisture exposure, and structural settling. These cracks allow water to penetrate, which promotes mold growth and loosens tiles over time.
Self-healing grout counters this process through embedded microcapsules or mineral agents. When moisture reaches a crack, the agents activate and form new material to seal the gap. This reaction restores the joint without additional intervention.
The approach suits homeowners who prioritize durable results from the start. It delivers extended performance that aligns with careful craftsmanship.
Project Overview
- Working time ranges from four to six hours for a standard bathroom.
- Total time spans one to two days to include curing and final cleanup.
Skill level required is intermediate.
Estimated cost falls between 150 and 300 dollars for an average bathroom.
This scope matches individuals who have completed basic tiling tasks before. Surface preparation and proper curing remain essential for success.
Deciding Between DIY and Professional Help
Small areas such as a bathroom floor or backsplash allow for successful DIY work with careful technique. The application steps mirror standard grouting, though specific mixing ratios and cure times vary by product.
Large showers, heated floors, or intricate layouts benefit from professional installation. Experts achieve consistent joint depth that supports full activation of the healing compounds. Added expense provides assurance that the material performs as designed.
Required Materials and Tools
Materials
- Self-healing grout in polymeric or mineral formulation
- Clean water
- Grout sealer if specified by the manufacturer
- Mild tile cleaner
Tools
- Grout float
- Mixing bucket with paddle
- Sponges and microfiber cloths
- Grout removal tool for regrouting projects
- Rubber gloves and safety glasses
Tool rental programs at local suppliers reduce upfront expense for infrequent projects.
Step-by-Step Installation
Prepare the Surface
Remove all dust, residue, and old grout from the tile. Thorough cleaning prevents adhesion problems. Allow the area to dry completely before proceeding.
Mix the Grout
Follow the product instructions for exact ratios. Overmixing introduces air and can damage microcapsules. Rest the mixture for the recommended period to activate components.
Apply the Grout
Spread the mixture diagonally with a grout float. Force material fully into joints. Remove excess promptly and wipe with a damp sponge, rinsing frequently.
Complete Curing and Final Cleaning
Keep the surface dry for at least 24 hours. Buff remaining haze with a dry cloth after cure. Apply sealer only if the product label requires it.
Verify Performance
Inspect joints for uniform appearance. Light misting of minor cracks during the first weeks demonstrates the healing response.
How the Technology Responds to Moisture
Mineral-based versions form calcium carbonate crystals when water contacts a crack. Polymer versions release repair agents from ruptured microcapsules that solidify on contact with air or moisture. Both systems convert the presence of water into a repair mechanism rather than a source of damage.
Managing Cost and Performance
Higher initial expense is offset by reduced resealing and repair needs. Focus self-healing grout on showers, tub surrounds, and sink areas. Use conventional grout on low-exposure decorative walls to control total project cost.
Practices That Ensure Professional Results
Maintain even joint widths throughout the installation. Follow mixing instructions precisely to preserve healing capability. Protect fresh grout from dust during cure. These steps produce consistent color and reliable long-term function.
Ongoing Care for Extended Service Life
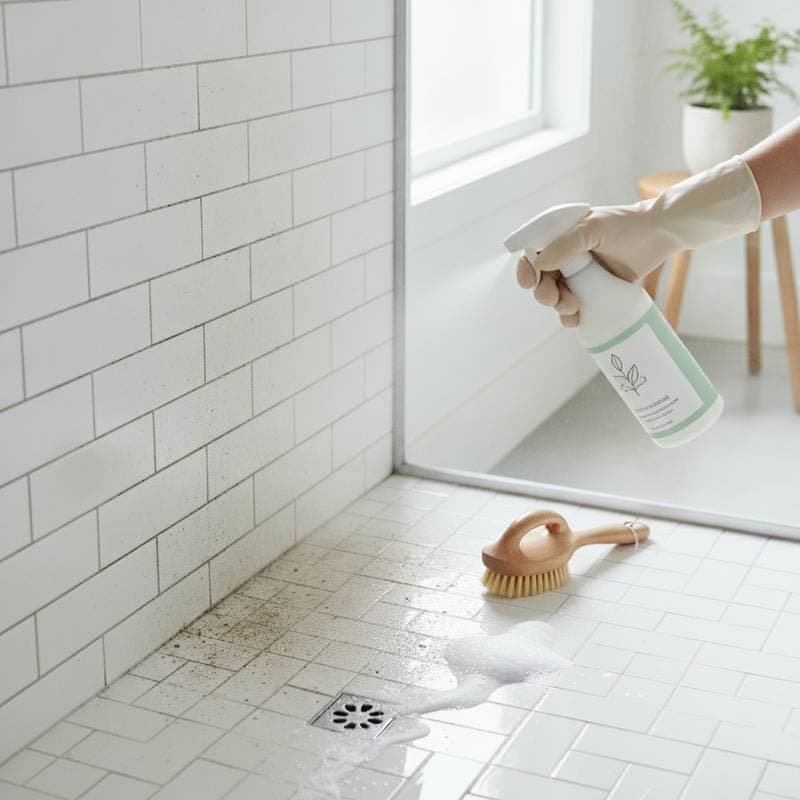
Clean with pH-neutral solutions only. Inspect joints periodically for cracks beyond the healing limit. The material resists mildew formation and maintains appearance with minimal effort in high-use bathrooms.
Health and Environmental Advantages
Longer service life reduces replacement waste. Non-toxic formulations lower chemical exposure during installation and cleaning. Reduced mold risk improves air quality for sensitive households.
Practical Habits for Best Outcomes
Mix at moderate speed to protect microcapsules. Work within recommended temperature ranges. Section large areas to maintain consistent application. Retain a small amount of mixed product for later touch-ups. Review each product label for specific handling requirements.
Maximizing Long-Term Tile Performance
Proper installation combined with routine care keeps surfaces intact and attractive. The self-repair feature protects against water intrusion and supports sustained value in moisture-prone spaces.